
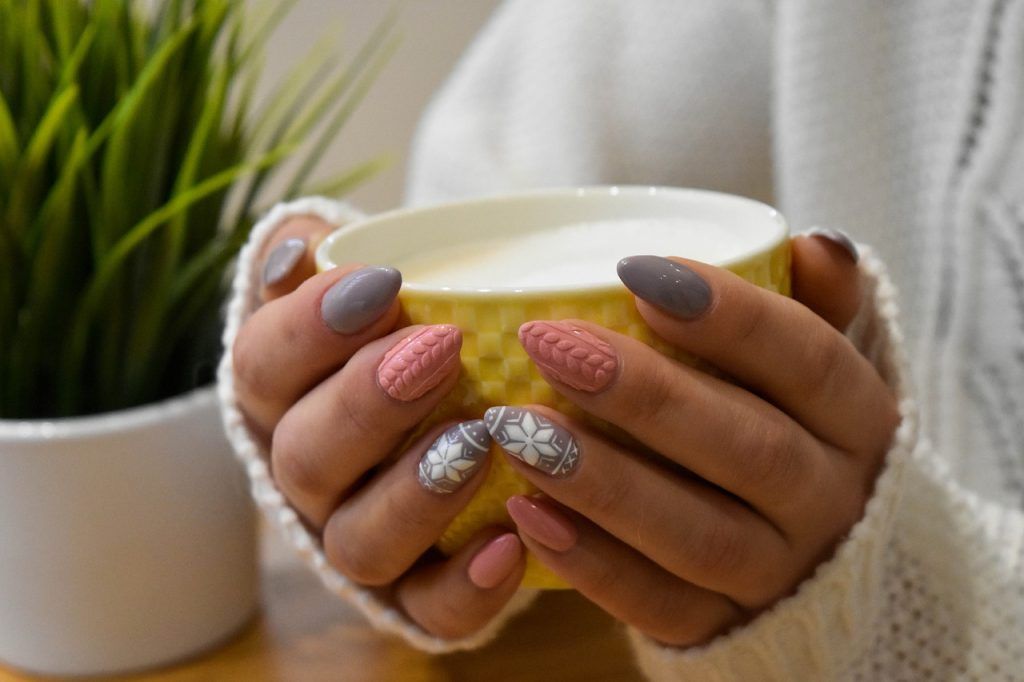
Hello, nail art enthusiasts! As a nail art design, I love to share my nail art ideas for gorgeous nails. I have learned a lot of different nail art techniques. In this blog post, I want to share some of my favorite nail art ideas with you. These designs are perfect for any occasion, and they are all very easy to recreate at home. So whether you are looking for a new nail design for a special event, or just want to switch up your everyday look, I hope that you find something here that you love!
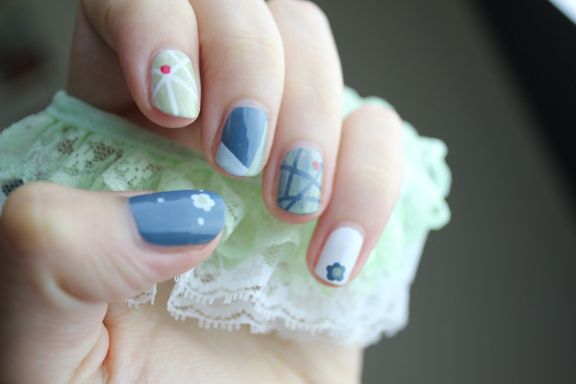
Some of my favorite nail art techniques are sponging, stamping, freehand painting, and gradient nails.
Sponging is a great nail art technique for creating gradient or ombre designs. It is also very easy to do at home with just a few supplies. All you need is a makeup sponge, nail polish, and a topcoat. First, apply your base color to the nails. Then, using the makeup sponge, apply the second nail polish color to the sponge. Dab the sponge onto the nails, starting at the tips and working your way up. Continue until you are happy with the design. Finish with a top coat to seal in the design.
Stamping is another great nail art technique that is perfect for creating intricate designs. You will need a nail art stamping plate, nail polish, and a topcoat. First, apply your base color to the nails. Then, using the nail art stamping plate, apply the second nail polish color to the plate. Use a rolling motion to transfer the design from the plate onto the nails. Finish with a top coat to seal in the design.
Airsee Portable Electric Nail Drill Kit | Gorgeous Nails Video
Freehand painting is a great nail art technique for creating unique and personal designs. You will need nail polish and a topcoat. First, apply your base color to the nails. Then, using nail polish, paint the design directly onto the nails. Finish with a top coat to seal in the design.
Gradient nails are a beautiful and easy nail art technique to create. You will need two colors of nail polish, a makeup sponge, and a topcoat. First, apply your base color to the nails. Then, using the makeup sponge, apply the second nail polish color to the sponge. Dab the sponge onto the nails, starting at the tips and working your way up. Continue until you are happy with the design. Finish with a top coat to seal in the design.
Finally, I want to show you how to create a simple nail design that is perfect for summer. This design is easy to do and it looks great on any color nail polish. So, without further ado, let’s get started!
To create this design, you will need white nail polish and light blue nail polish. First, paint your nails with two coats of white nail polish. Once the nail polish is dry, take the light blue nail polish and paint one horizontal stripe across each nail. To finish the look, add a top coat of clear nail polish. You can buy a set of nail art tool kit for $25 or less. These nail art ideas are perfect for summertime. It’s simple, yet chic and it goes with any color nail polish. Have a gorgeous nail day! I hope you enjoyed this tutorial and please stay tuned for more nail art ideas in the future!
RELATED ARTICLE:
10 Steps To A Gorgeous Nail Salon Style Manicure At Home
Do you love the look of nail salon style manicures, but don’t have the time or money to visit a nail salon? You’re in luck! In this blog post, we will teach you how to achieve the gorgeous nail salon style manicure at home. It’s easier than you think, and only takes 10 simple steps. So grab your favorite nail polish and let’s get started!
Step One: Start by filing your nails into the desired shape. Be sure to use a nail file that is appropriate for your nail type (i.e. crystal or glass nail files for thin/weak nails, diamond nail files for medium-strength nails, and emery boards for thick/hard nails).
Step Two: Remove the cuticle with a cuticle remover— make sure it’s not an oil or a balm—to assist dissolve dead skin and soften the region. Cuticle oils and cuticle removers are not the same, nor can they be used interchangeably, contrary to popular belief. Oils moisturize your nails; removals exfoliate.
“Cuticle oil is a hydrating and nourishing treatment that is applied to the nail bed and surrounding skin after soaking your hands in warm water,” says manicurist Deborah Lippmann. “It helps to condition the nail, promote nail growth, and prevent hangnails.”
Step Three: Moisturize your hands and cuticles. Now is the time to moisturize, since it will be easiest to remove any smudges from nearly dry nail polish. Use hand cream that’s also good for cuticle hydration. Give yourself a little hand massage now rather than later.
Step Four: Next, it’s time to prep your nails for polish. This step is important because it helps the nail polish adhere to your nails and prevents chipping. To prep your nails, simply wash them with soap and water, then apply a nail primer or basecoat.
Step Five: Now it’s time to apply your nail polish! Begin by applying a thin coat of nail polish to the center of your nail. Then, use a brushstroke that extends outwards towards the edges of your nail. Be sure to apply light pressure and avoid painting too thickly or you’ll end up with bubbles in your nail polish.
Step Six: Once your first coat of nail polish has dried, it’s time to apply a second coat. Again, start in the center of your nail and brush outwards. Remember to apply light pressure and avoid painting too thickly or you’ll end up with bubbles in your nail polish.
Step Seven: After your second coat of nail polish has dried, it’s time to apply a topcoat. This will help your nail polish last longer and prevent it from chipping.
Step Eight: Once your topcoat has dried, it’s time to clean up any nail polish that may have gotten on your skin. The easiest way to do this is to use a cotton swab dipped in nail polish remover. Gently swipe the cotton swab along the edge of your nail to remove any excess nail polish.
Step Nine: Apply a cuticle oil or cream to your nails and massage it into your cuticles. This will help keep your nails and cuticles healthy and prevent them from drying out.
Step Ten: Use a piece of cotton ball soaked in nail polish remover to wrap around the end of your cuticle stick and carefully trace around your nails after you’ve finished trimming. If you have nail polish removal pads, try forming one into a triangle for more accurate application. Allow your nails to dry for another five minutes before removing the tape.
Wish you a gorgeous nail day! You’ve now completed your very own nail salon style manicure at home. Gorgeous Nails, Congratulations!